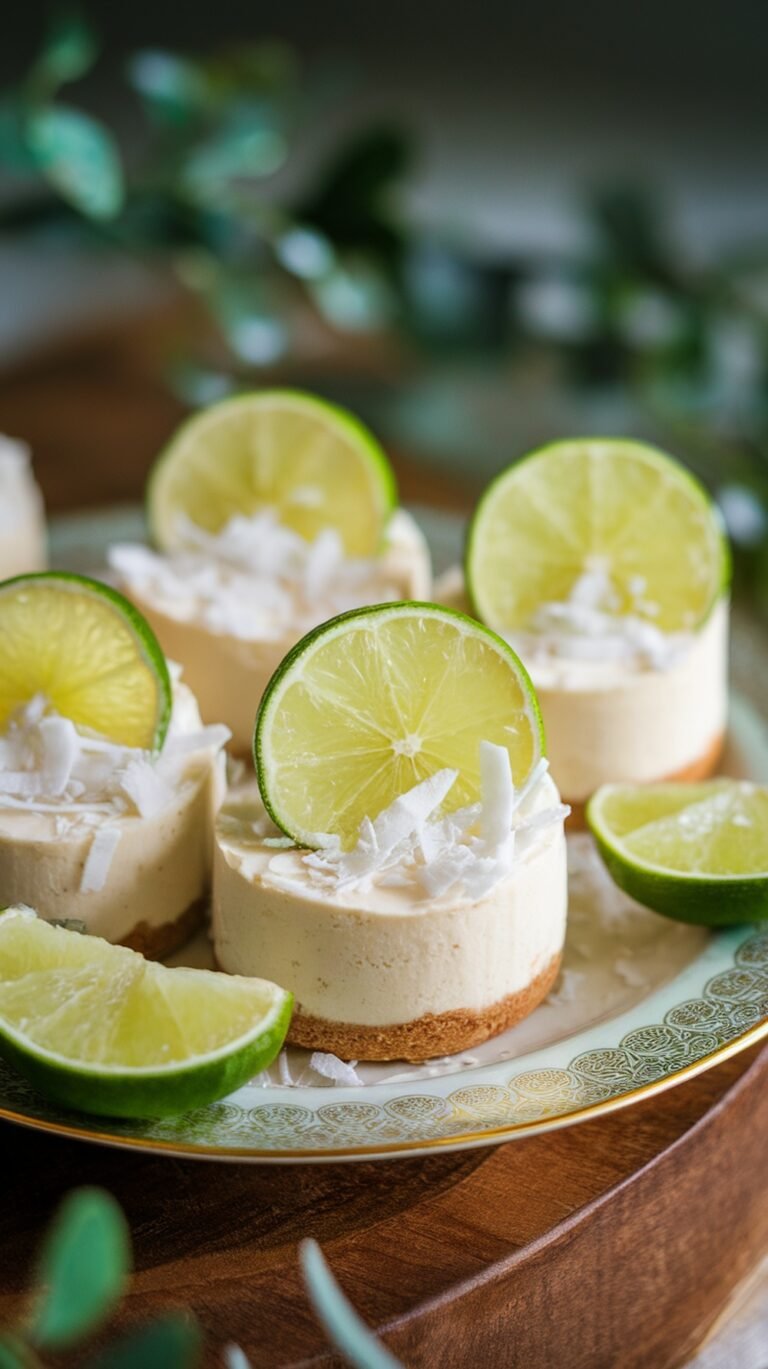
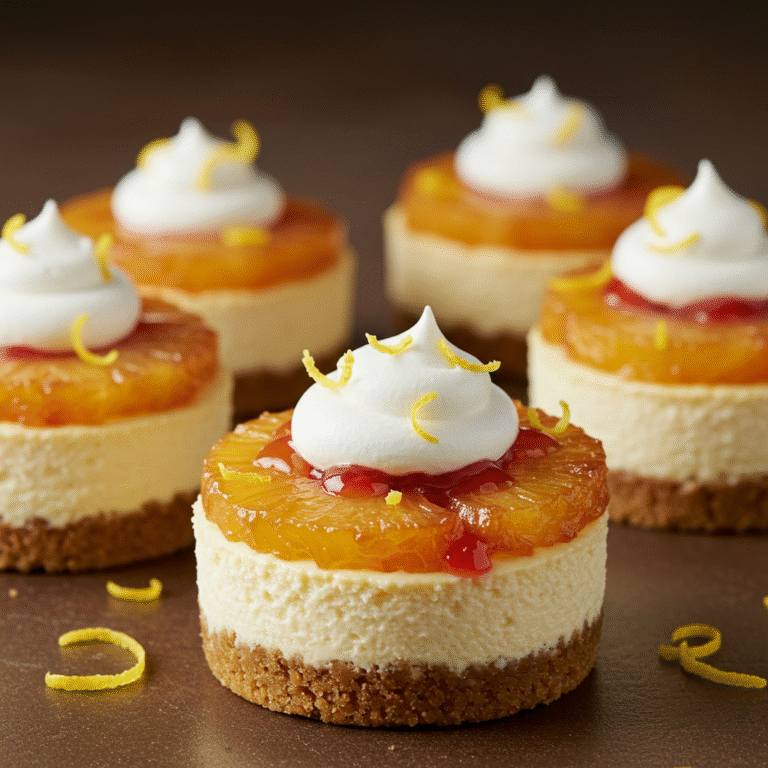
Delicious & Easy Mini Cheesecakes: Bite-Sized Bliss!

There’s nothing like a creamy, velvety mini cheesecake when your dessert table needs a showstopper. This crowd-pleasing recipe is simple, perfectly portioned, and filled with ingredients that guarantee a smooth, rich bite every time. It’s one of those recipes that feels like a bite of bliss.
Whether you’re hosting a baby shower, prepping for a bridal party, or just craving something sweet and delicious, this one’s for you.
Why Mini is Better Than Sliced
Everything you’ll need to make make these mini cheesecakes
You only need a handful of wholesome ingredients to whip this up:
Before you start, make sure you have these tools on hand:
- ✓ 12-cup muffin tin
- ✓ Paper cupcake liners
- ✓ Electric mixer (hand or stand)
- ✓ Mixing bowls
- ✓ Food processor (or zip-top bag & rolling pin)
Customize this recipe
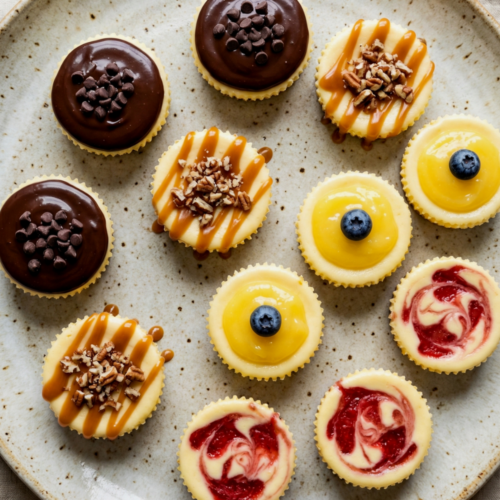
The beauty of this dessert is how adaptable it is. Here are a few easy swaps:
Mix and match these for the ultimate dessert spread:

🔄 Fun Crust Variations
Bored of graham crackers? Simply swap the crumbs 1:1 with these tasty alternatives:
| The Cookie | Flavor Profile | Best Paired With |
|---|---|---|
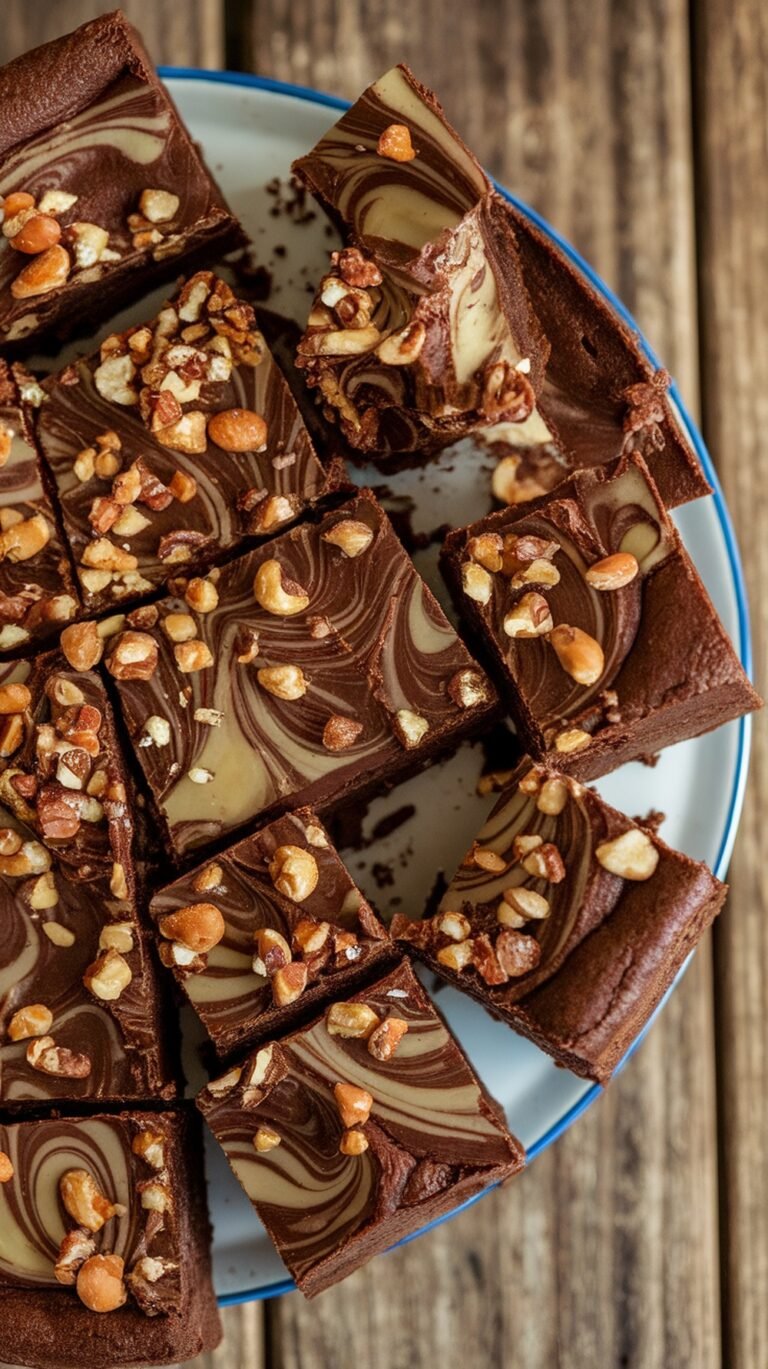
| Oreos (Whole) | Deep chocolate, sweet filling | Ganache or fresh raspberries |
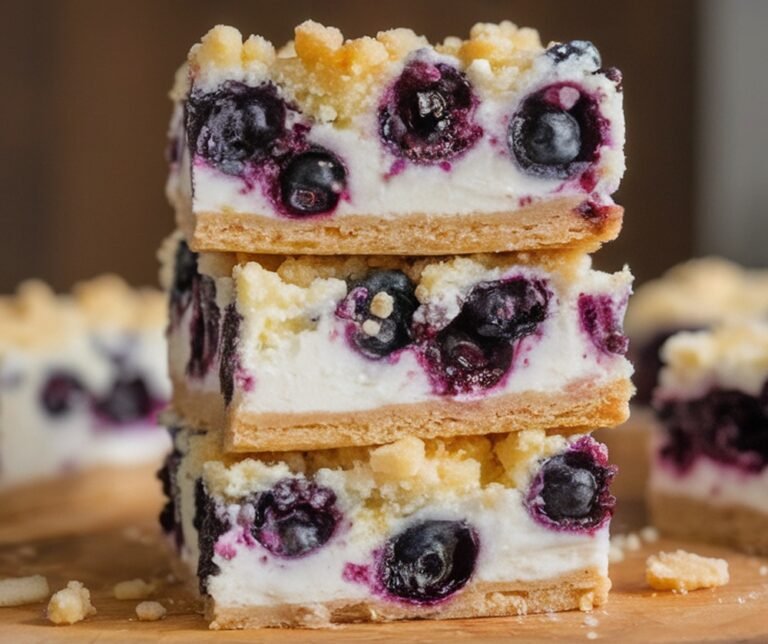
| Vanilla Wafers | Light, buttery, nostalgic | Lemon curd or fresh blueberries |
| Biscoff Cookies | Warm spices, caramel notes | Caramel drizzle or plain whipped cream |
How to store
Leftovers are the best part. Let the soup cool completely, then:
Can I make it in advance?
Absolutely. This dessert is actually better the next day as the flavors have more time to meld and the filling has time to chill and set. It’s perfect for party prep or making ahead when you know a busy weekend of hosting is coming up.
Soft Cream Cheese is Non-Negotiable! If your cream cheese is even slightly cold, you will end up with a lumpy filling. Let it sit at room temperature for at least an hour before you begin beating it. The same goes for your eggs and sour cream!
Delicious & Easy Mini Cheesecakes
Equipment
- 12-cup muffin tin * Paper cupcake liners *
- Electric mixer (either a hand mixer or a stand mixer to get that cream cheese perfectly smooth)
- Food processor (or simply a zip-top bag and a rolling pin to crush the graham crackers)
- Mixing bowls (a small one for the crust, and a large one for the filling)
Ingredients
- 1 1/2 cups graham cracker crumbs
- 1/3 cup unsalted butter melted
- 2 tablespoons granulated sugar
- 2 packages 8 oz each cream cheese, softened
- 3/4 cup granulated sugar
- 1/4 cup sour cream room temperature
- 1 teaspoon vanilla extract
- 2 large eggs room temperature
Instructions
- Get Crumb-y: Preheat your oven to 350°F (175°C). Line a 12-cup muffin tin with paper liners. Mix the graham cracker crumbs, melted butter, and 2 tablespoons of sugar until combined. Press about 1 1/2 tablespoons of the mixture firmly into the bottom of each liner. Bake for 5 minutes, then cool slightly.
- Whip Up the Filling: In a large bowl, beat the softened cream cheese until perfectly smooth. Gradually add the 3/4 cup of sugar and beat until combined. Mix in the sour cream and vanilla extract. Add the eggs one at a time, mixing on low speed until just combined (do not overmix!).
- Fill & Bake: Spoon the filling evenly into the muffin liners. Bake for 17-20 minutes, or until the centers are mostly set with a slight jiggle.
- Cool & Chill: Let the cheesecakes cool completely in the tin at room temperature. Transfer to the refrigerator and chill for at least 2 hours to firm up beautifully.
✨ The Secret to Flawless, Bakery-Perfect Edges
Paper liners will always leave fluted ridges. To get those mathematically perfect, smooth sides worthy of a high-end dessert table, you need to ditch the paper and use one of these two professional methods:
- Skip the paper liners entirely.
- Lightly grease the cavities of your silicone mold or removable-bottom pan.
- Bake as directed and let them cool completely to room temperature.
- Place the entire pan in the freezer for 1 to 2 hours until solid.
- Push them up from the bottom for a flawlessly smooth finish. Let them thaw in the fridge before serving!
- Line a flat, heavy-duty baking sheet with parchment paper.
- Lightly grease the inside of bottomless metal rings (like Guowall molds) and place them directly onto the parchment.
- Pack your crust down very tightly into the bottom of the rings to form a seal so the batter doesn’t leak out during baking.
- Fill with batter, bake, and cool. Freeze the entire baking sheet for 1 to 2 hours until the cakes are solid.
- Wrap a warm, damp kitchen towel around the outside of the metal ring for 10 seconds. The ring will slide right up!
Tips for Mini Cheesecake Success
- Don’t Overmix the Filling: Once you add the eggs, mix on low speed until just combined. Beating too much air into the batter causes the cheesecakes to puff up in the oven and collapse (crack!) as they cool.
- Leave the Liners On: Don’t try to peel the cupcake liners off while the cheesecakes are warm. Wait until they are completely chilled from the fridge, and the paper will peel away flawlessly.
More dessert favorites to try next
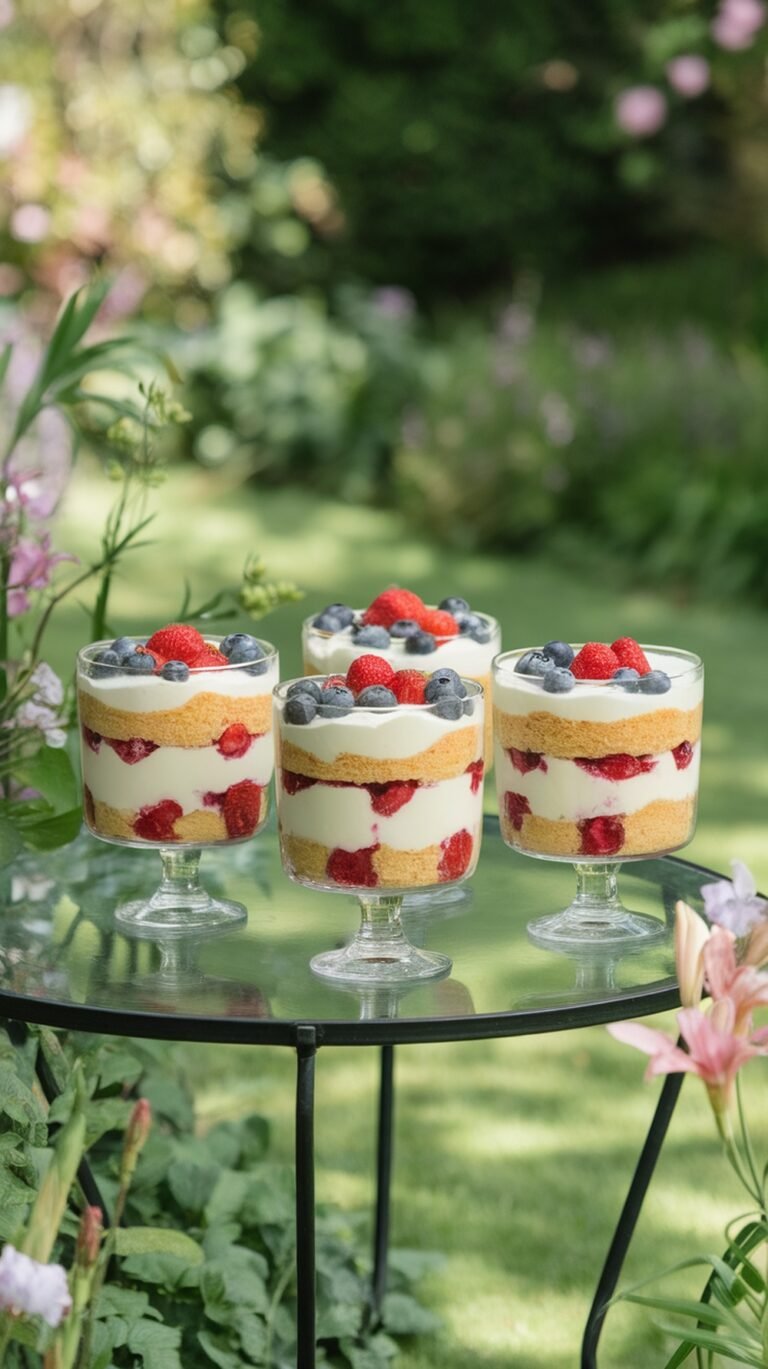
If you love this sweet treat, check out our 10 Surprising Cottage Cheese Dessert Recipes That Work, Refreshing Blueberry Sorbet, or Effortless Elegance: Strawberry Shortcake Trifles for a Crowd—all easy to make and full of goodness.
How do you get such perfectly clean, smooth lines on the sides of your cheesecakes?
If you use standard paper cupcake liners, you will always get those classic fluted ridges around the edges. To get bakery-level smooth sides, you need to ditch the paper liners and use one of two professional methods:
– Method 1 (The Easy Way): Silicone or Removable-Bottom Pans. Skip the paper liners entirely. Lightly grease the cavities, bake as directed, and cool them to room temperature. Then, place the entire pan in the freezer for 1-2 hours. Once they are solid, you can easily pop them out from the bottom, and the sides will be flawlessly smooth! Let them thaw in the fridge before serving.
–Method 2 (The Pro Way): Stainless Steel Pastry Rings. For razor-sharp, flawless edges, pastry chefs use bottomless metal rings (like Guowall Cake Ring Molds). You place the rings directly on a parchment-lined baking sheet, pack your crust tightly to form a seal, and bake. After a deep chill in the freezer, wrap a warm, damp towel around the metal ring for 10 seconds, and it slides right off to reveal mathematically perfect sides.
See above for the full step-by-step tutorial!
Can I double this recipe for a larger crowd?
Absolutely. This recipe doubles perfectly without any complicated math. Simply double all the ingredients to yield 24 mini cheesecakes and use two standard 12-cup muffin tins. You can bake them both on the same rack in the middle of the oven, just keep an eye on them around the 15-minute mark.
Why did my mini cheesecakes sink in the middle?
A slight dip in the center is totally normal and makes a perfect little “bowl” for your fruit or chocolate toppings! However, a deep crater usually means too much air was whipped into the batter. Once you add the eggs, mix on the lowest speed possible just until the yolk disappears. Drastic temperature changes can also cause sinking, so make sure you let them cool gradually in the pan at room temperature before moving them to the cold fridge.
Do I need a water bath for mini cheesecakes?
No! That is one of the best parts about making them mini. Because they are so small, they bake incredibly fast and evenly. You get to skip the hassle and the mess of the traditional water bath entirely.